
The link between Bundaberg and ginger is not a hard one to make, and when the versatile root is not being used while fresh in a drink, or baked in a cake, it can be pickled to be eaten later.
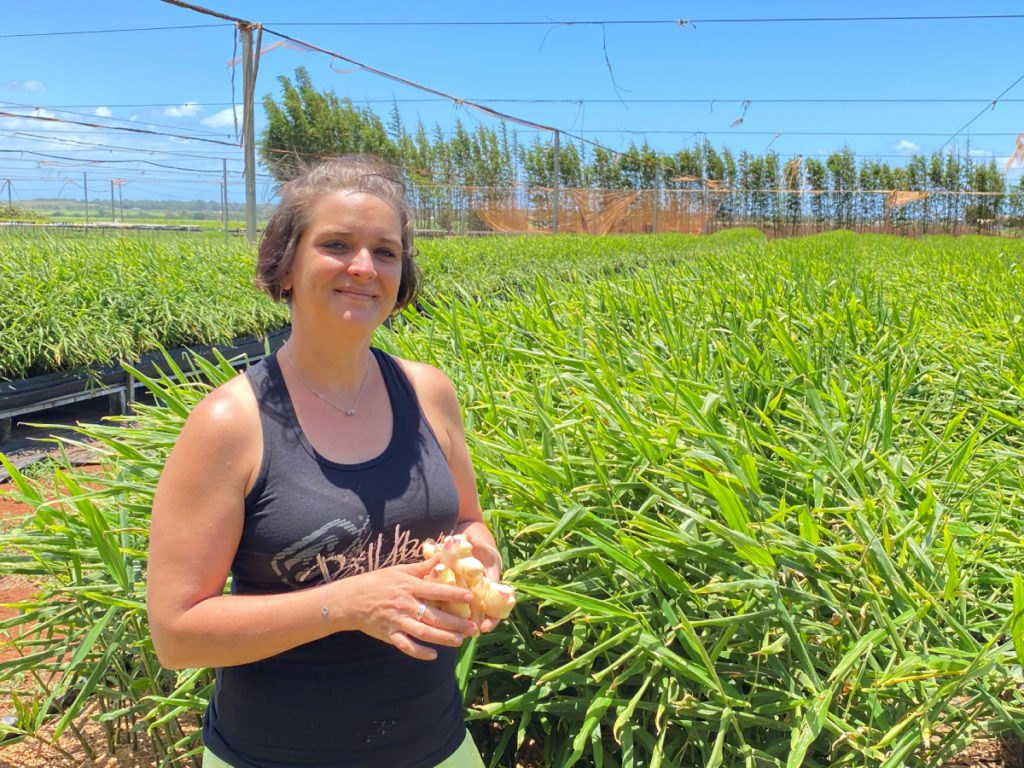
Mel Burg from Bundaberg Ginger said ginger has been grown in the shadow of the Hummock for nearly two decades.
She added her business partner, Andrew Dowling, has been preserving and pickling ginger along with other excellent local produce.
Mel said the new-season ginger is perfect to pickle because of its thin skin, and the tender-soft flesh is easy to slice in preparation for the sweet and spicy treat that will be ready in as quickly as two days.
When the pickled ginger is ready it can be used in stir fries, added to braised meat before serving or tossed through a fresh salad to add some flavour that will not be forgotten.
Bundaberg Ginger can be purchased at The Lettuce Patch, on the corner of Bargara Road and Rehbein Avenue in Qunaba.
How to make pickled Bundaberg Ginger
Ingredients:
- 350g of fresh new-season ginger (about two large hands)
- 1 large red radish (optional)
- 1 1/2 tbsp kosher salt
- 1/2 cup rice vinegar
- 1 cup of water
- 1 1/2 tbsp granulated sugar (optional)
Method
Prepare the jars: Wash the jar and lid with warm soapy water, rinse well, and dry before using.
Prepare the vegetables: Peel the ginger with a small spoon. Thinly slice on a mandoline or with a knife. Thinly slice the radish, if using.
Salt the ginger: Combine the ginger and salt in a small bowl. Set aside for 30 minutes.
Fill the jar: Put the radish, if using, into the jar. Add the ginger and pack tightly.
Make the pickling brine: Combine the vinegar, water, and sugar in a small saucepan over high heat and bring to a boil, stirring to dissolve the sugar. Pour the brine over the ginger, filling the jar to within 1/2 inch of the top. You might not use all the brine.
Remove air bubbles: Gently tap the jar against the counter a few times to remove all the air bubbles. Top off with more pickling brine if necessary.
Seal the jar: Seal the jar tightly.
Cool and refrigerate: Let the jar cool to room temperature. Store the pickles in the refrigerator.
The pickles will improve with flavour as they age — try to wait at least 48 hours before cracking them open.
- Other recipes: Spicy tomato relish bursts with flavour


